Building Basics
Sill Plates are Installed: Minimize Air Leakage
Comprehensive draft protection in a new home includes:
- A continuous air barrier around the whole house
- Caulking and sealing in all holes and cracks
- Installation of sill plates
Poorly sealed homes are less comfortable and cost more to maintain since they open the house to drafts, cold spots, moisture, and insects. Draft protection and air-sealing minimizes air flow that can impede a high-performance insulation system, so being meticulous here means less wasted energy along with enhanced comfort, health, and durability.
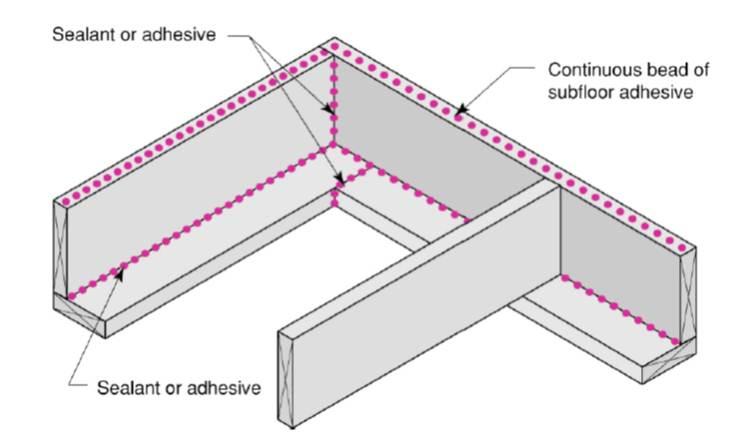
Any seams where two different building components come together in the building shell can leak air, and the sill plate where the wall meets the concrete foundation is especially susceptible to air leakage.
The best way to air-seal the sill plate is to place a sill sealer (also called a sill gasket) on the concrete before putting the sill plate down.
- Lay the sill plate boards along the perimeter of the foundation. Set the edge of the sill plate back from the outside face of the foundation at a distance equal to the thickness of the exterior sheathing. Be sure to mark the locations of the anchor bolts and drill holes for the bolts. Test the boards on the sill to see if they fit and then set them aside for later.
- If desired, install termite shield so that the outer edge hangs out from the exterior wall and is bent at an angle to form a drip edge and a diverter. Seal the shield to the concrete with epoxy and glue joints in the flashing with epoxy. Another option is to solder the joints.
- Roll out sill sealer along the perimeter of the foundation wall, pressing down and cutting if necessary to allow anchor bolts to come through the sealer. Next, apply caulk around anchor bolts.
- Lay sill board back in place over termite shield, sill sealer, and anchor bolts and secure with washers and nuts.